Fitting a full suspension kit
An upgrade was definitely needed, however for a long time I wasn't really sure what I wanted to get from it. If you had asked me when I first bought the truck, I would have probably said the most aggressive kit with the most travel, most lift etc. After five years of ownership, I have slowly moved towards the idea of building a camper/overlander. Fast forward to the start of this year, and I had decided that this vehicle WILL be a long term camper/overlander, and that's what it's being built for.
With that in mind, I already knew I wanted to get a kit from Gwynn Lewis. I've used his products before (propshafts, steering components) and I trust that he knows his stuff and his products are proven. I gave him a call to discuss options and explain the plan for the build. I estimated the total weight I expected to be carrying on our travels and used a chat bot to do some quick maths. I gave it all the details.. fridge full of food, XX litres of water, storage drawers, climbing equipment, clothes, recovery gear, tools, cooking equipment, awning, tent, rubbish bag, firewood, etc etc. It worked out at around an extra 500kg in the back. With that info, Gwynn made an educated guess on the most suitable springs and shocks for the job.
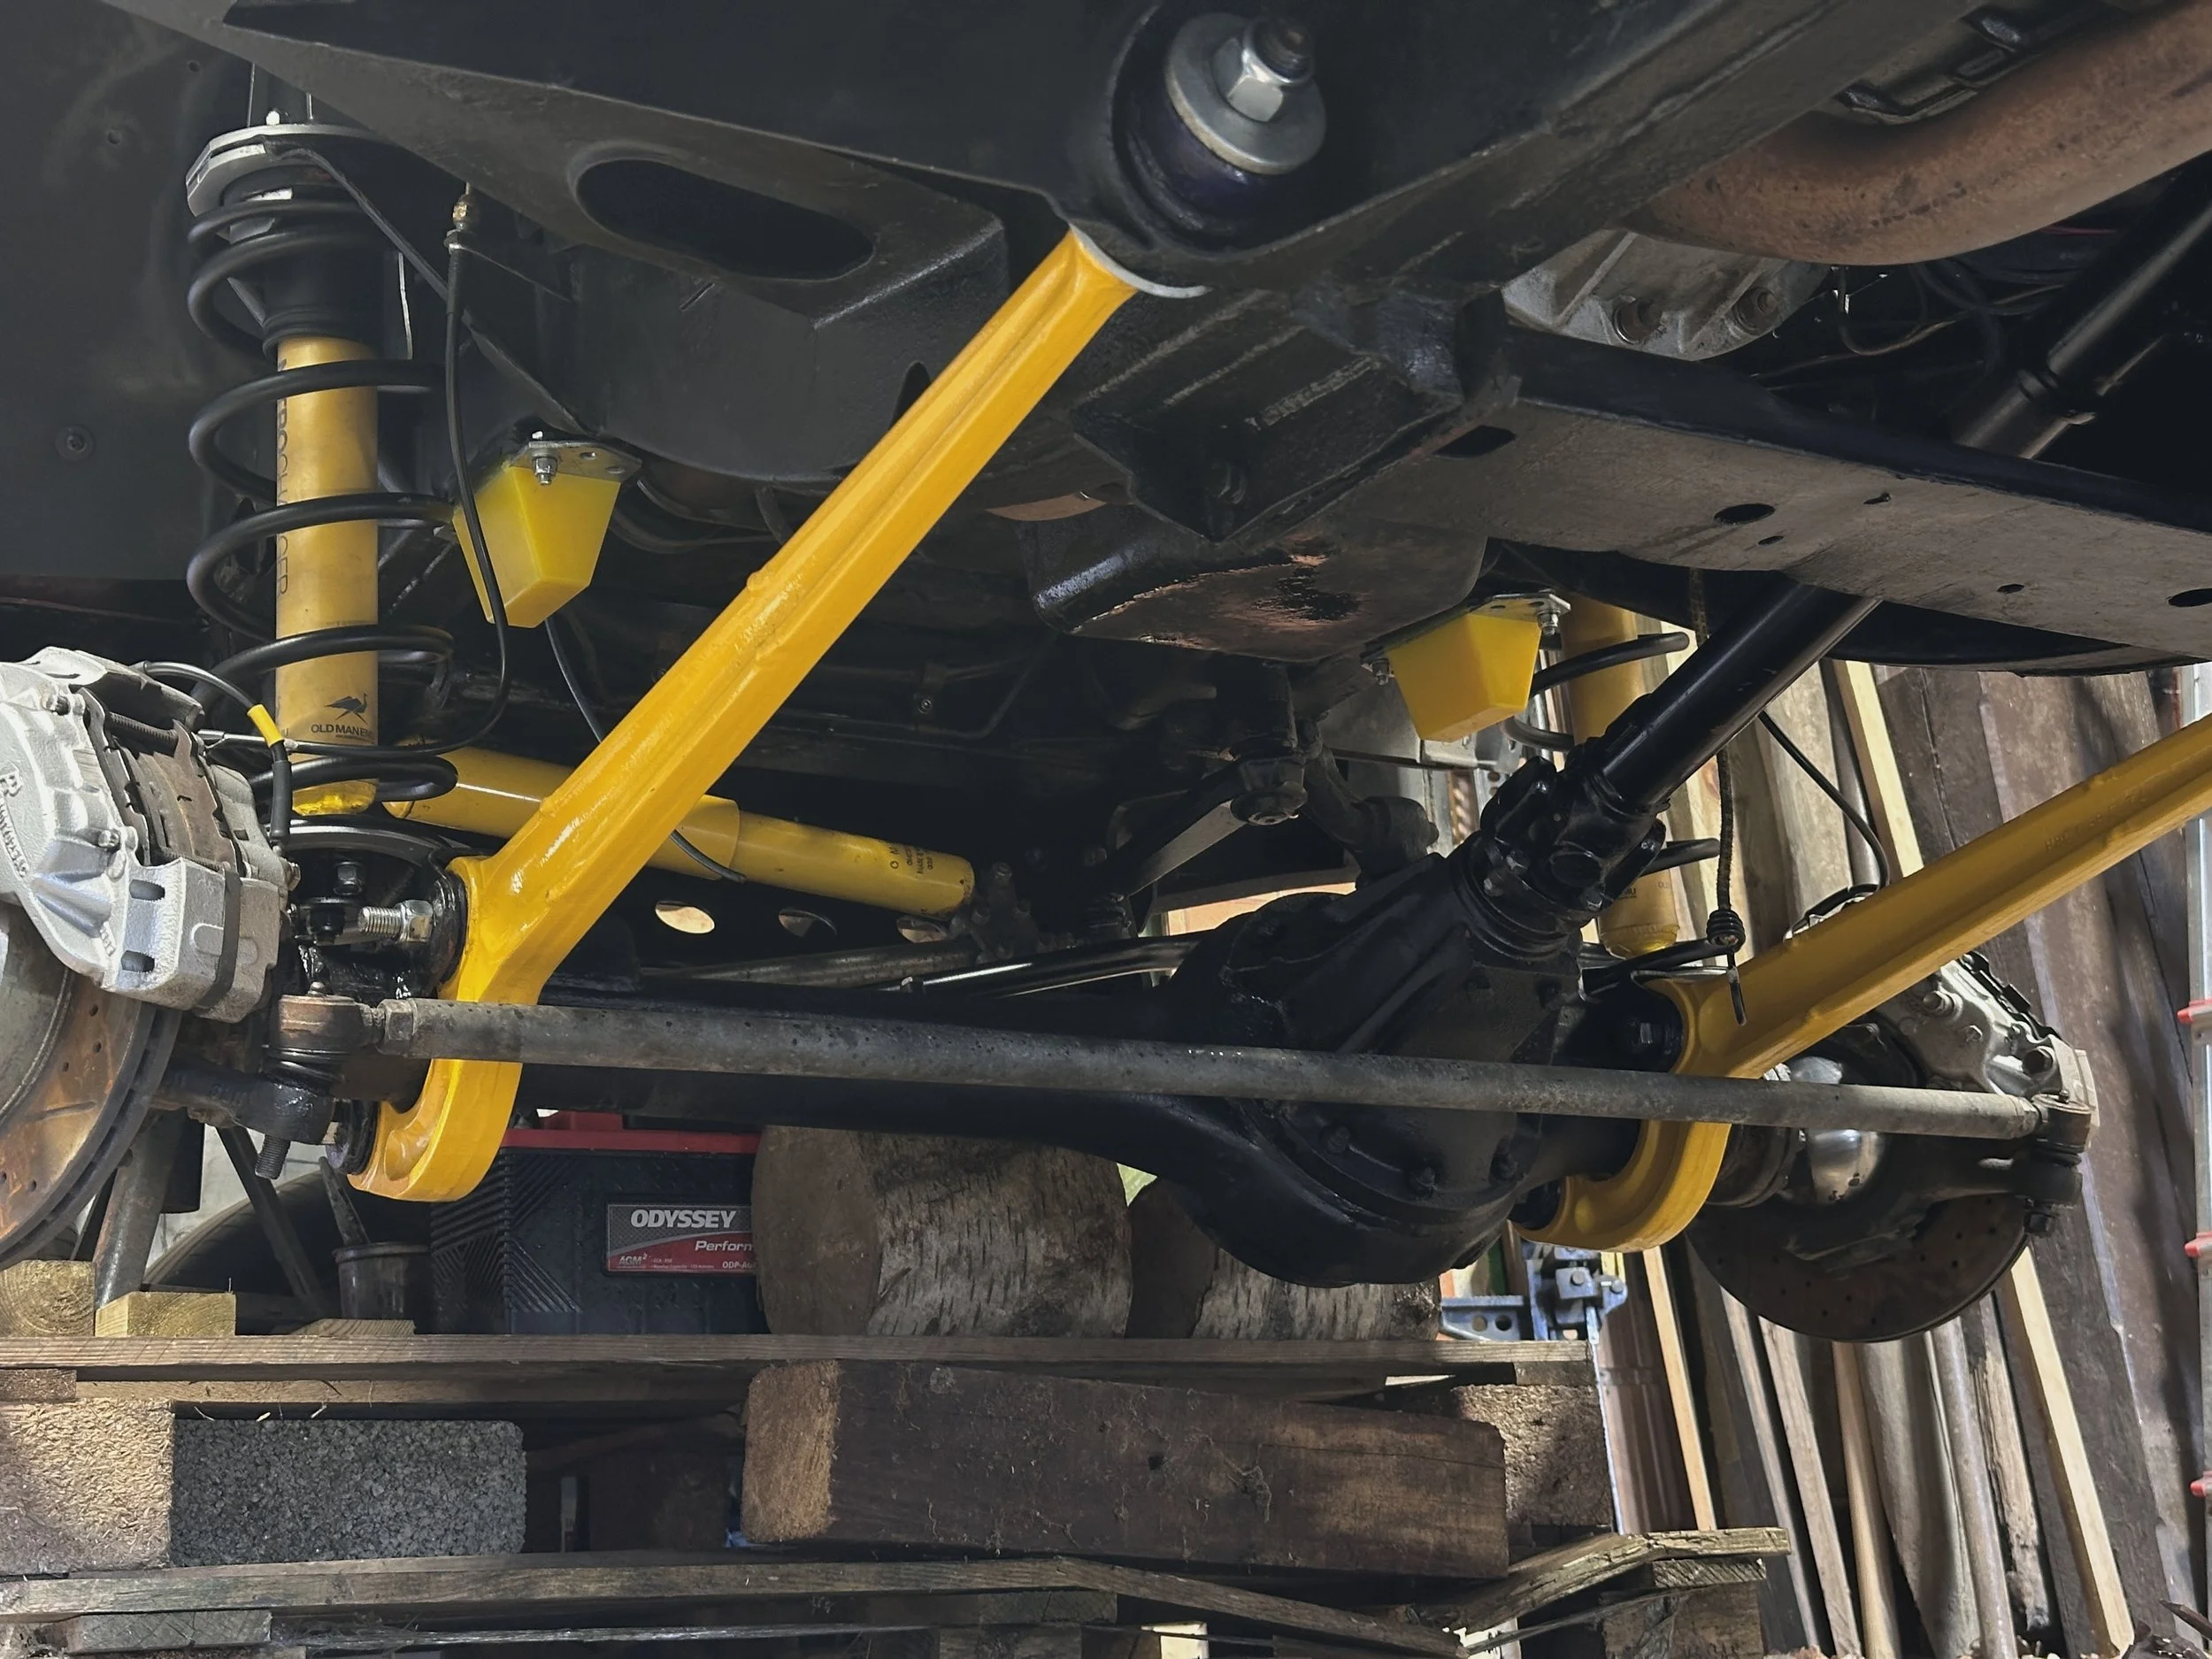
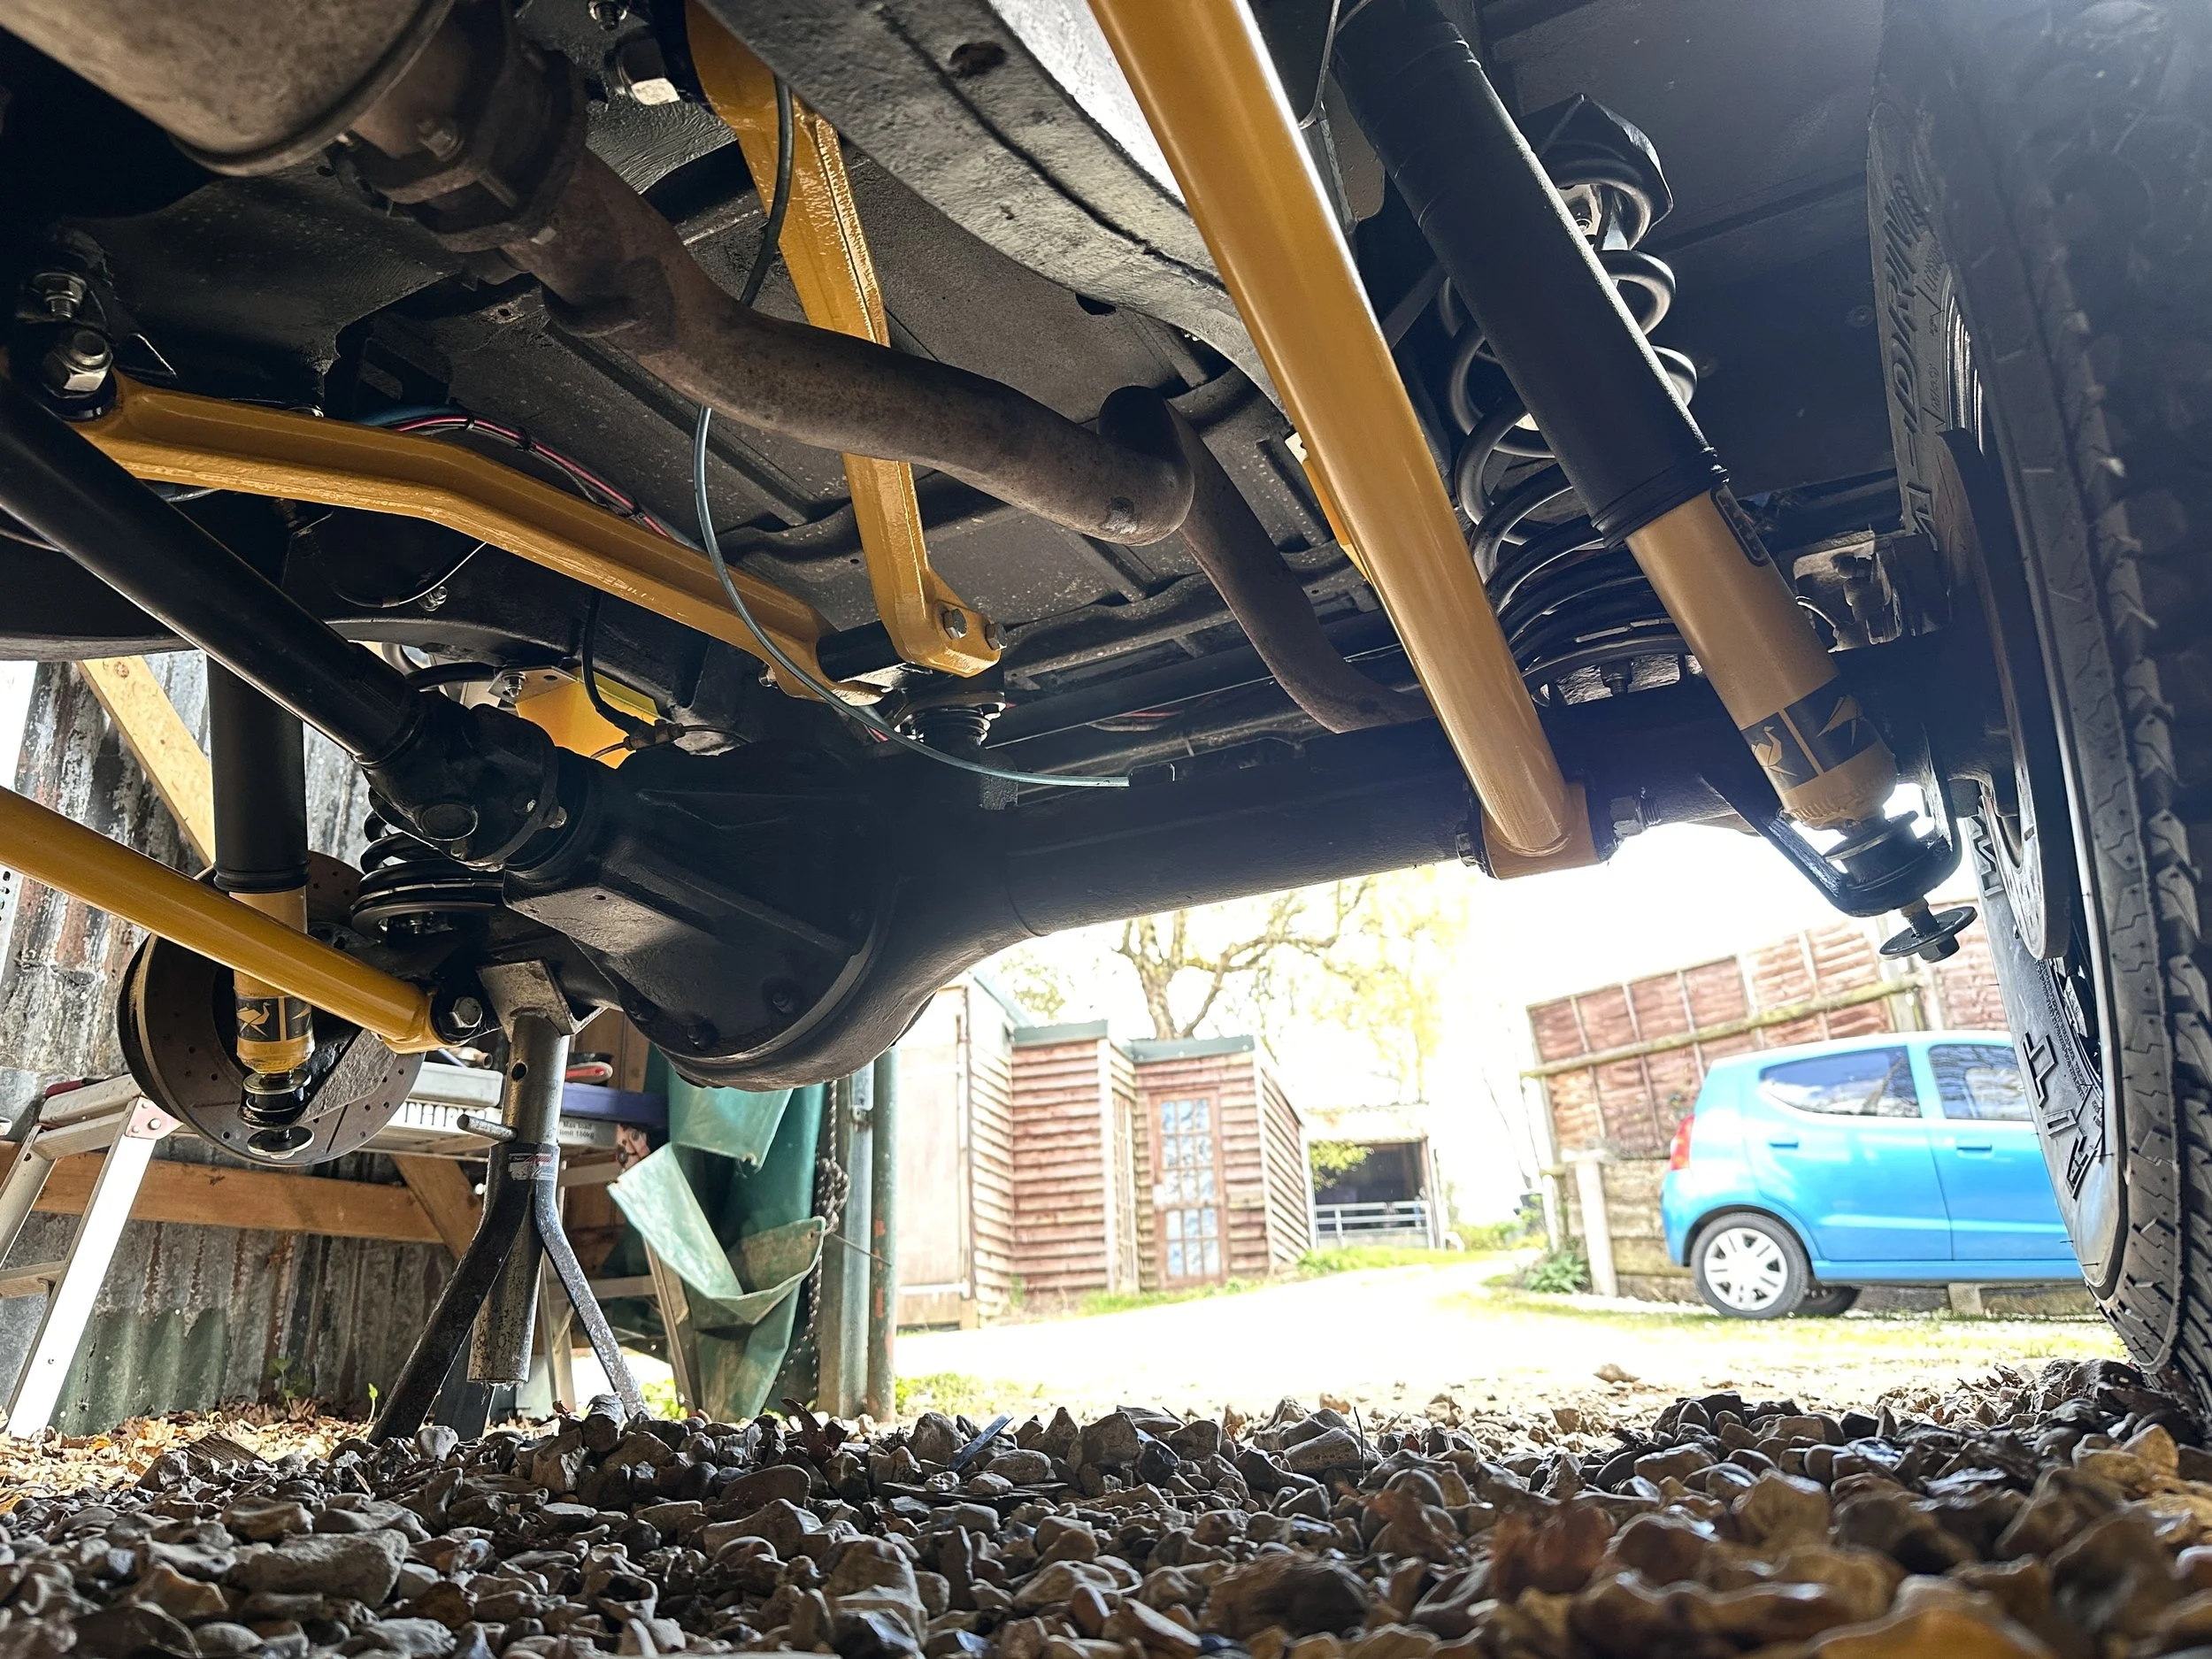
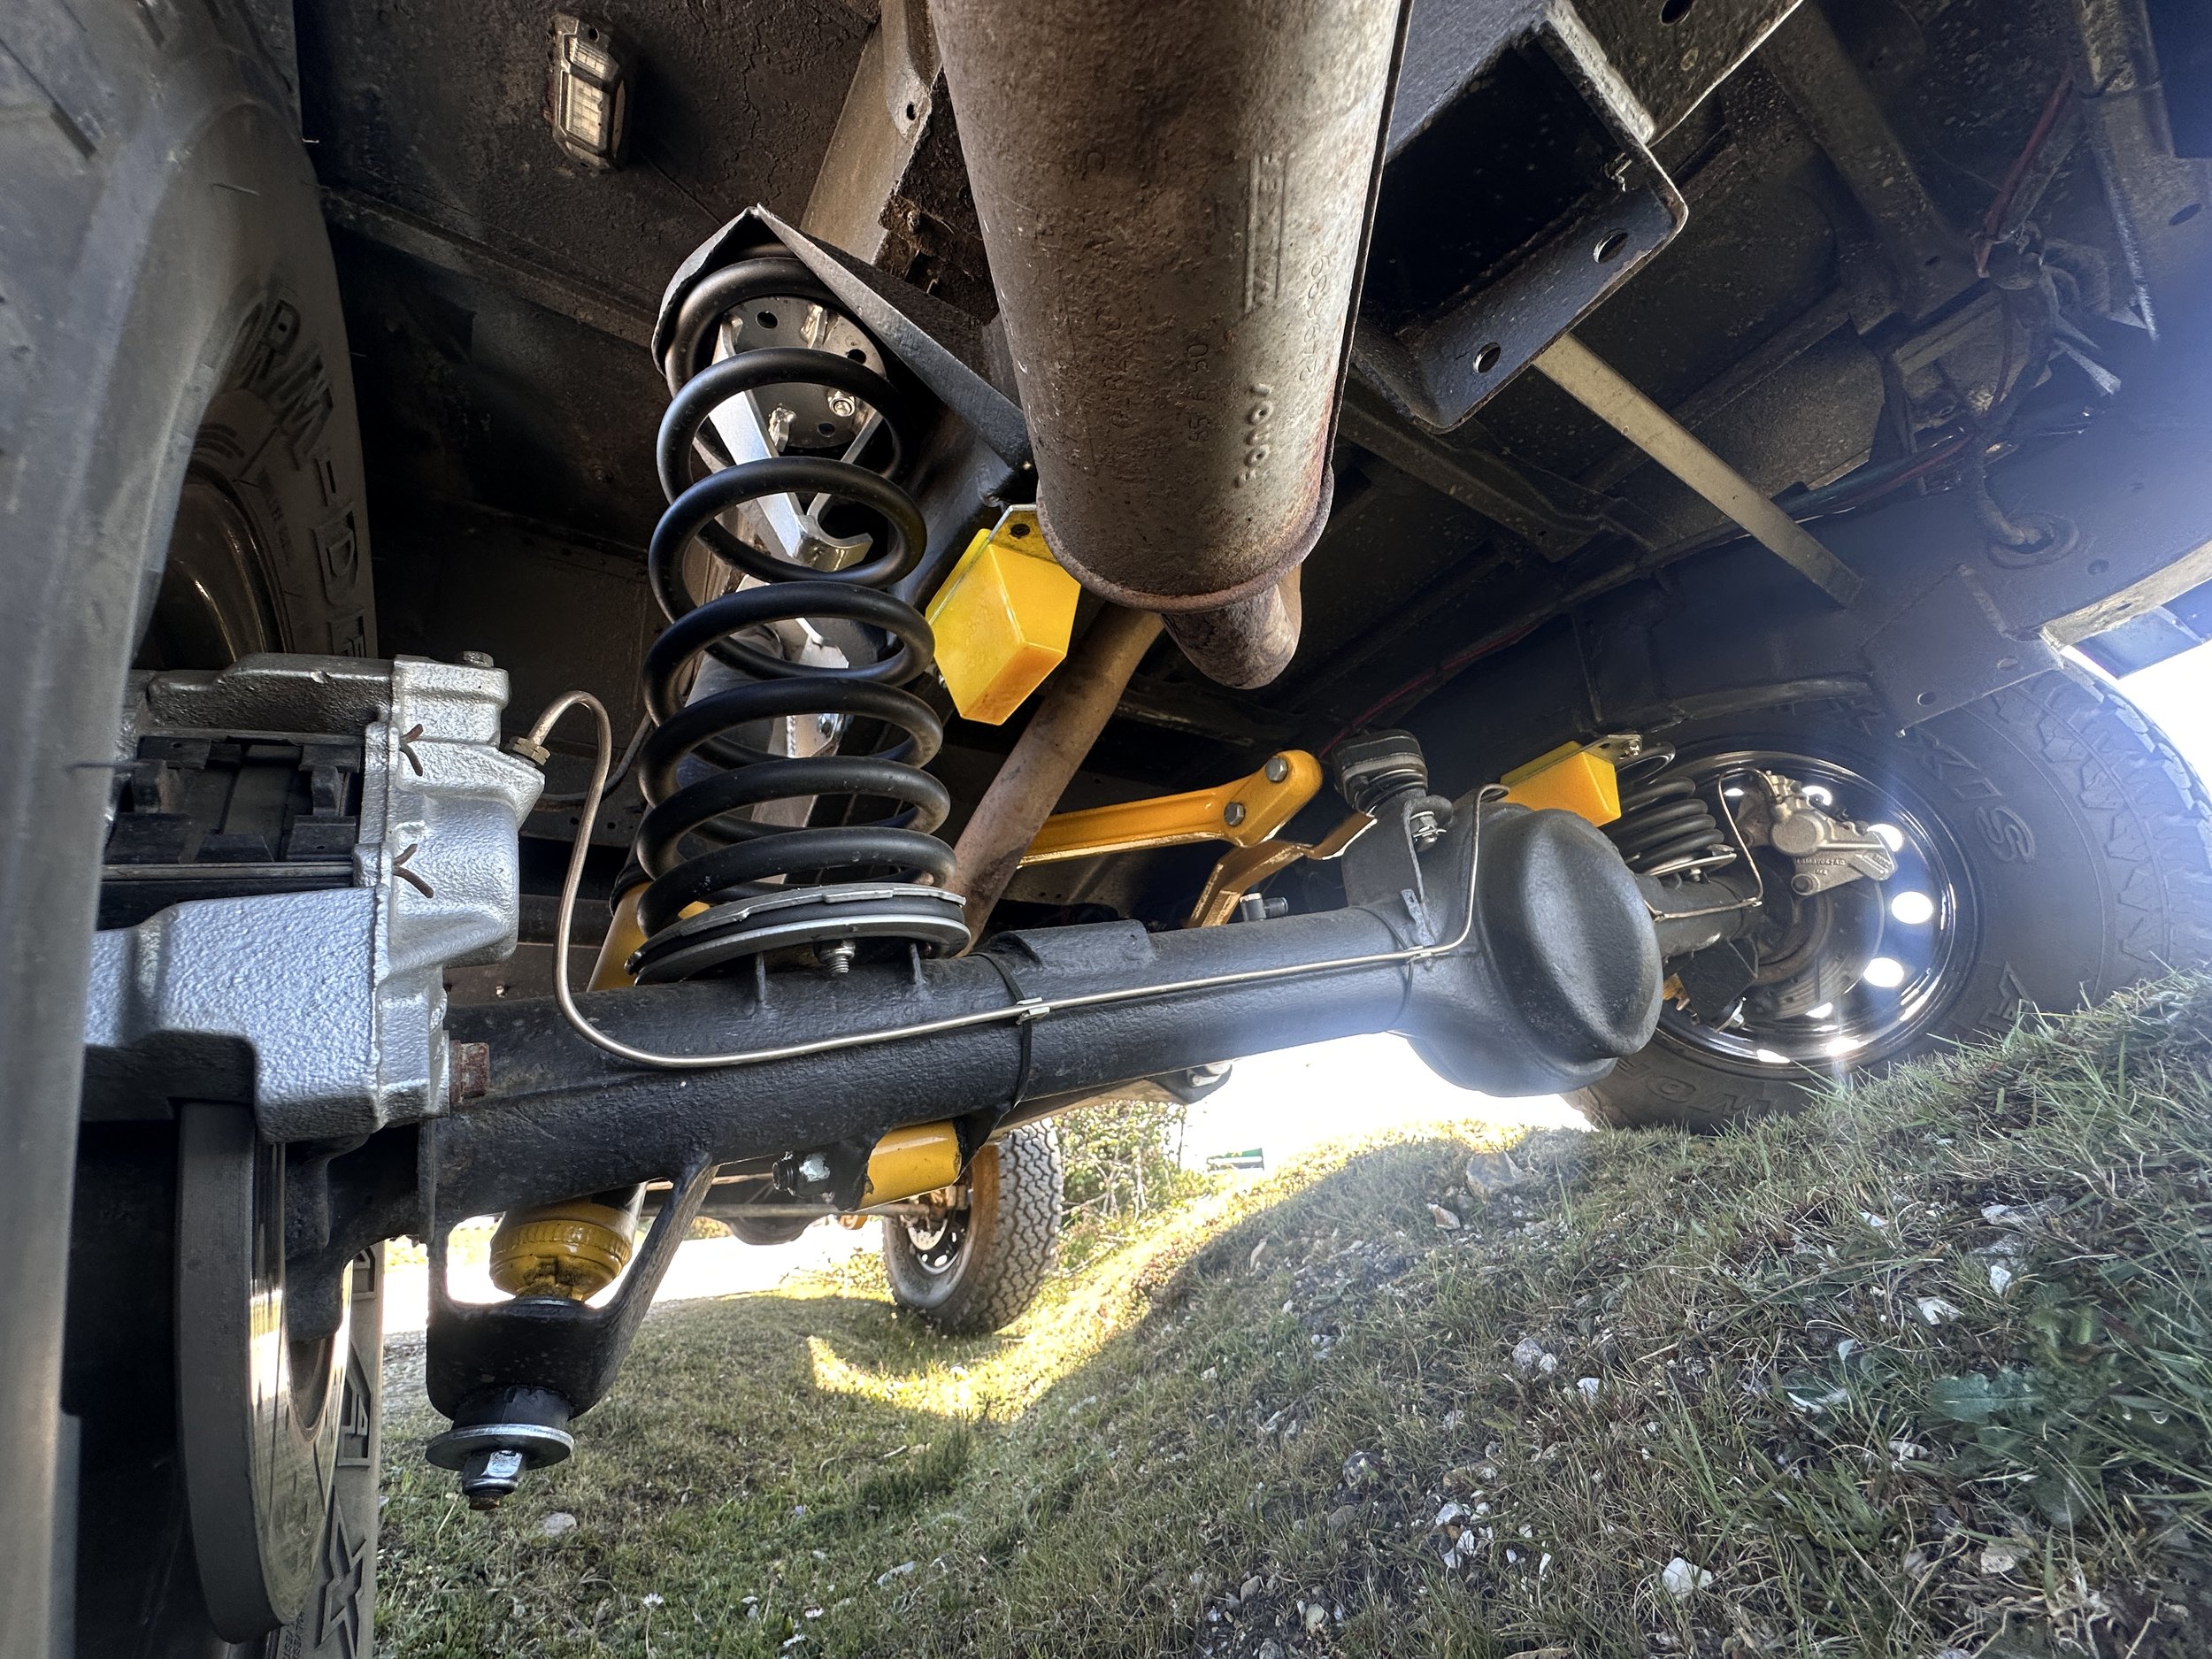
The kit chosen was the Explorer Kit, which includes +3" shocks (as opposed to the 5" on the Challenge kit he offers). The springs were selected based on roughly achieving a standard ride height when fully loaded, which keeps driveshaft angles at stock height and maintains long-term reliability.
Shocks and springs are Old Man Emu. There are lots of different options depending on load, desired ride height and driving feel. Before the upgrade the truck was suffering from some pretty bad body roll, Gwynn suggested fitting heavier duty shocks on the front to help compensate. From test drives so far it feels much better in corners, though I haven't yet simulated a fully loaded vehicle. If the body roll is still an issue when loaded, an anti-roll bar on the front axle is a possible option later down the line….
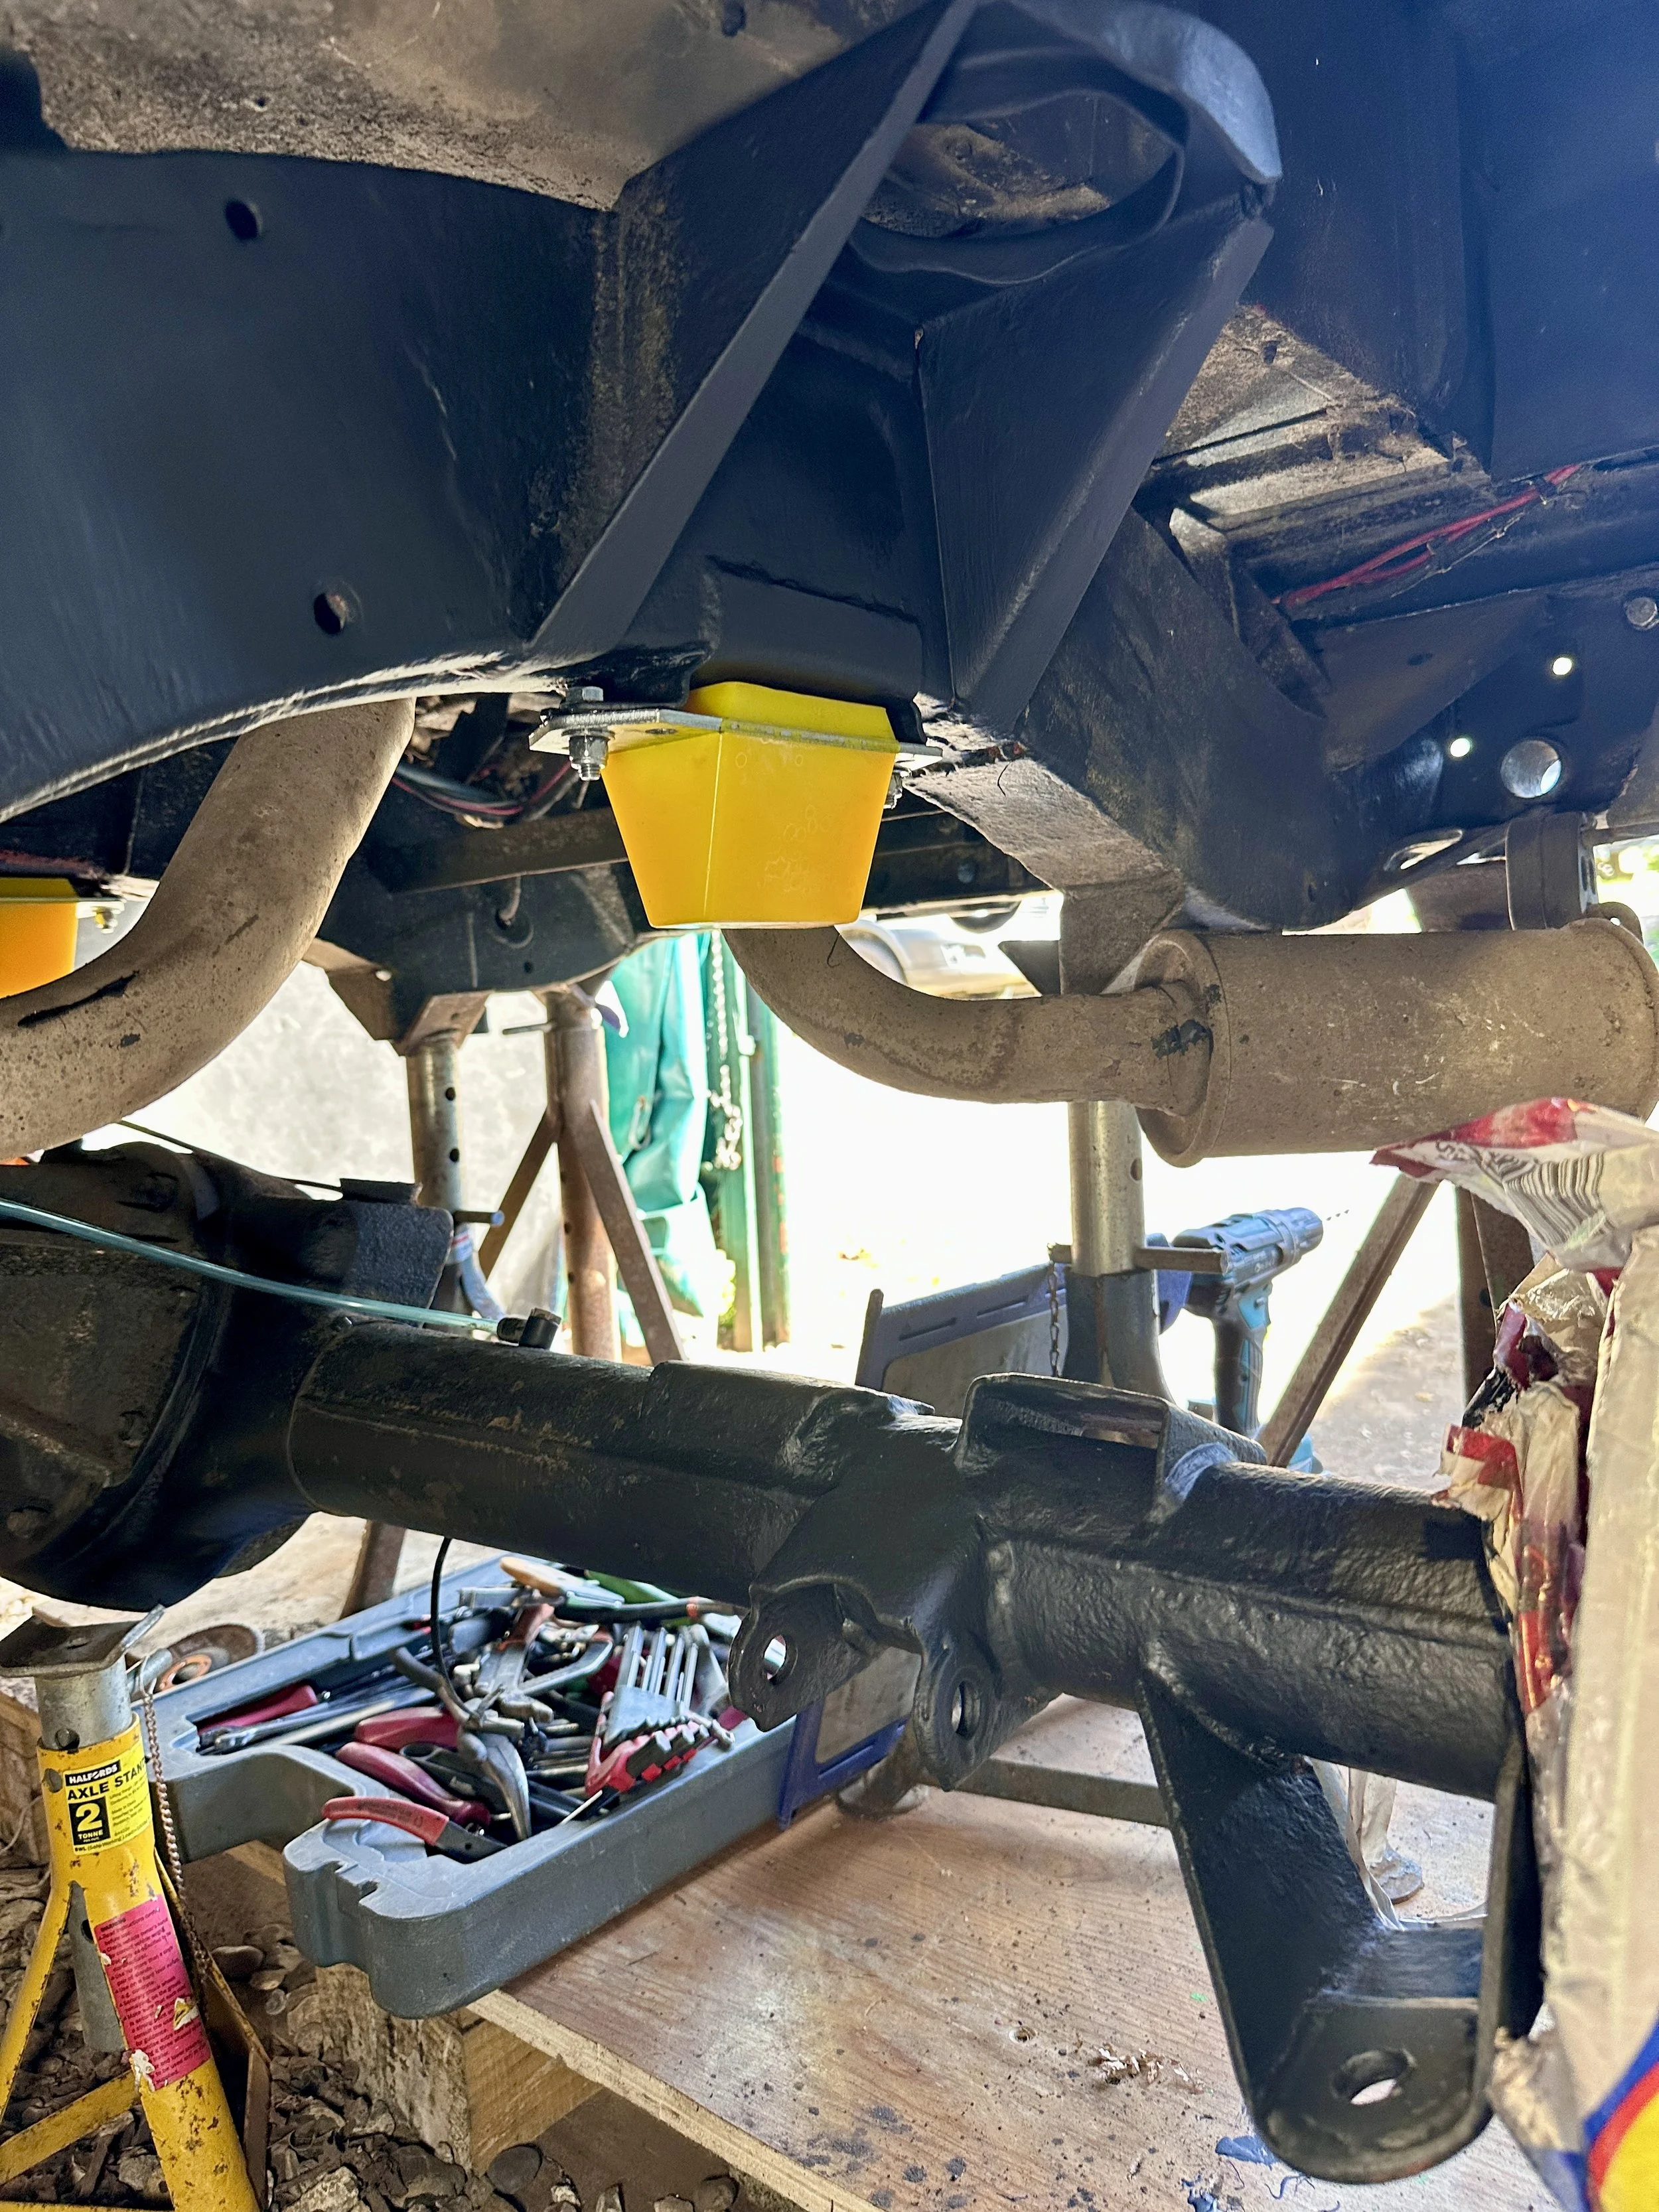
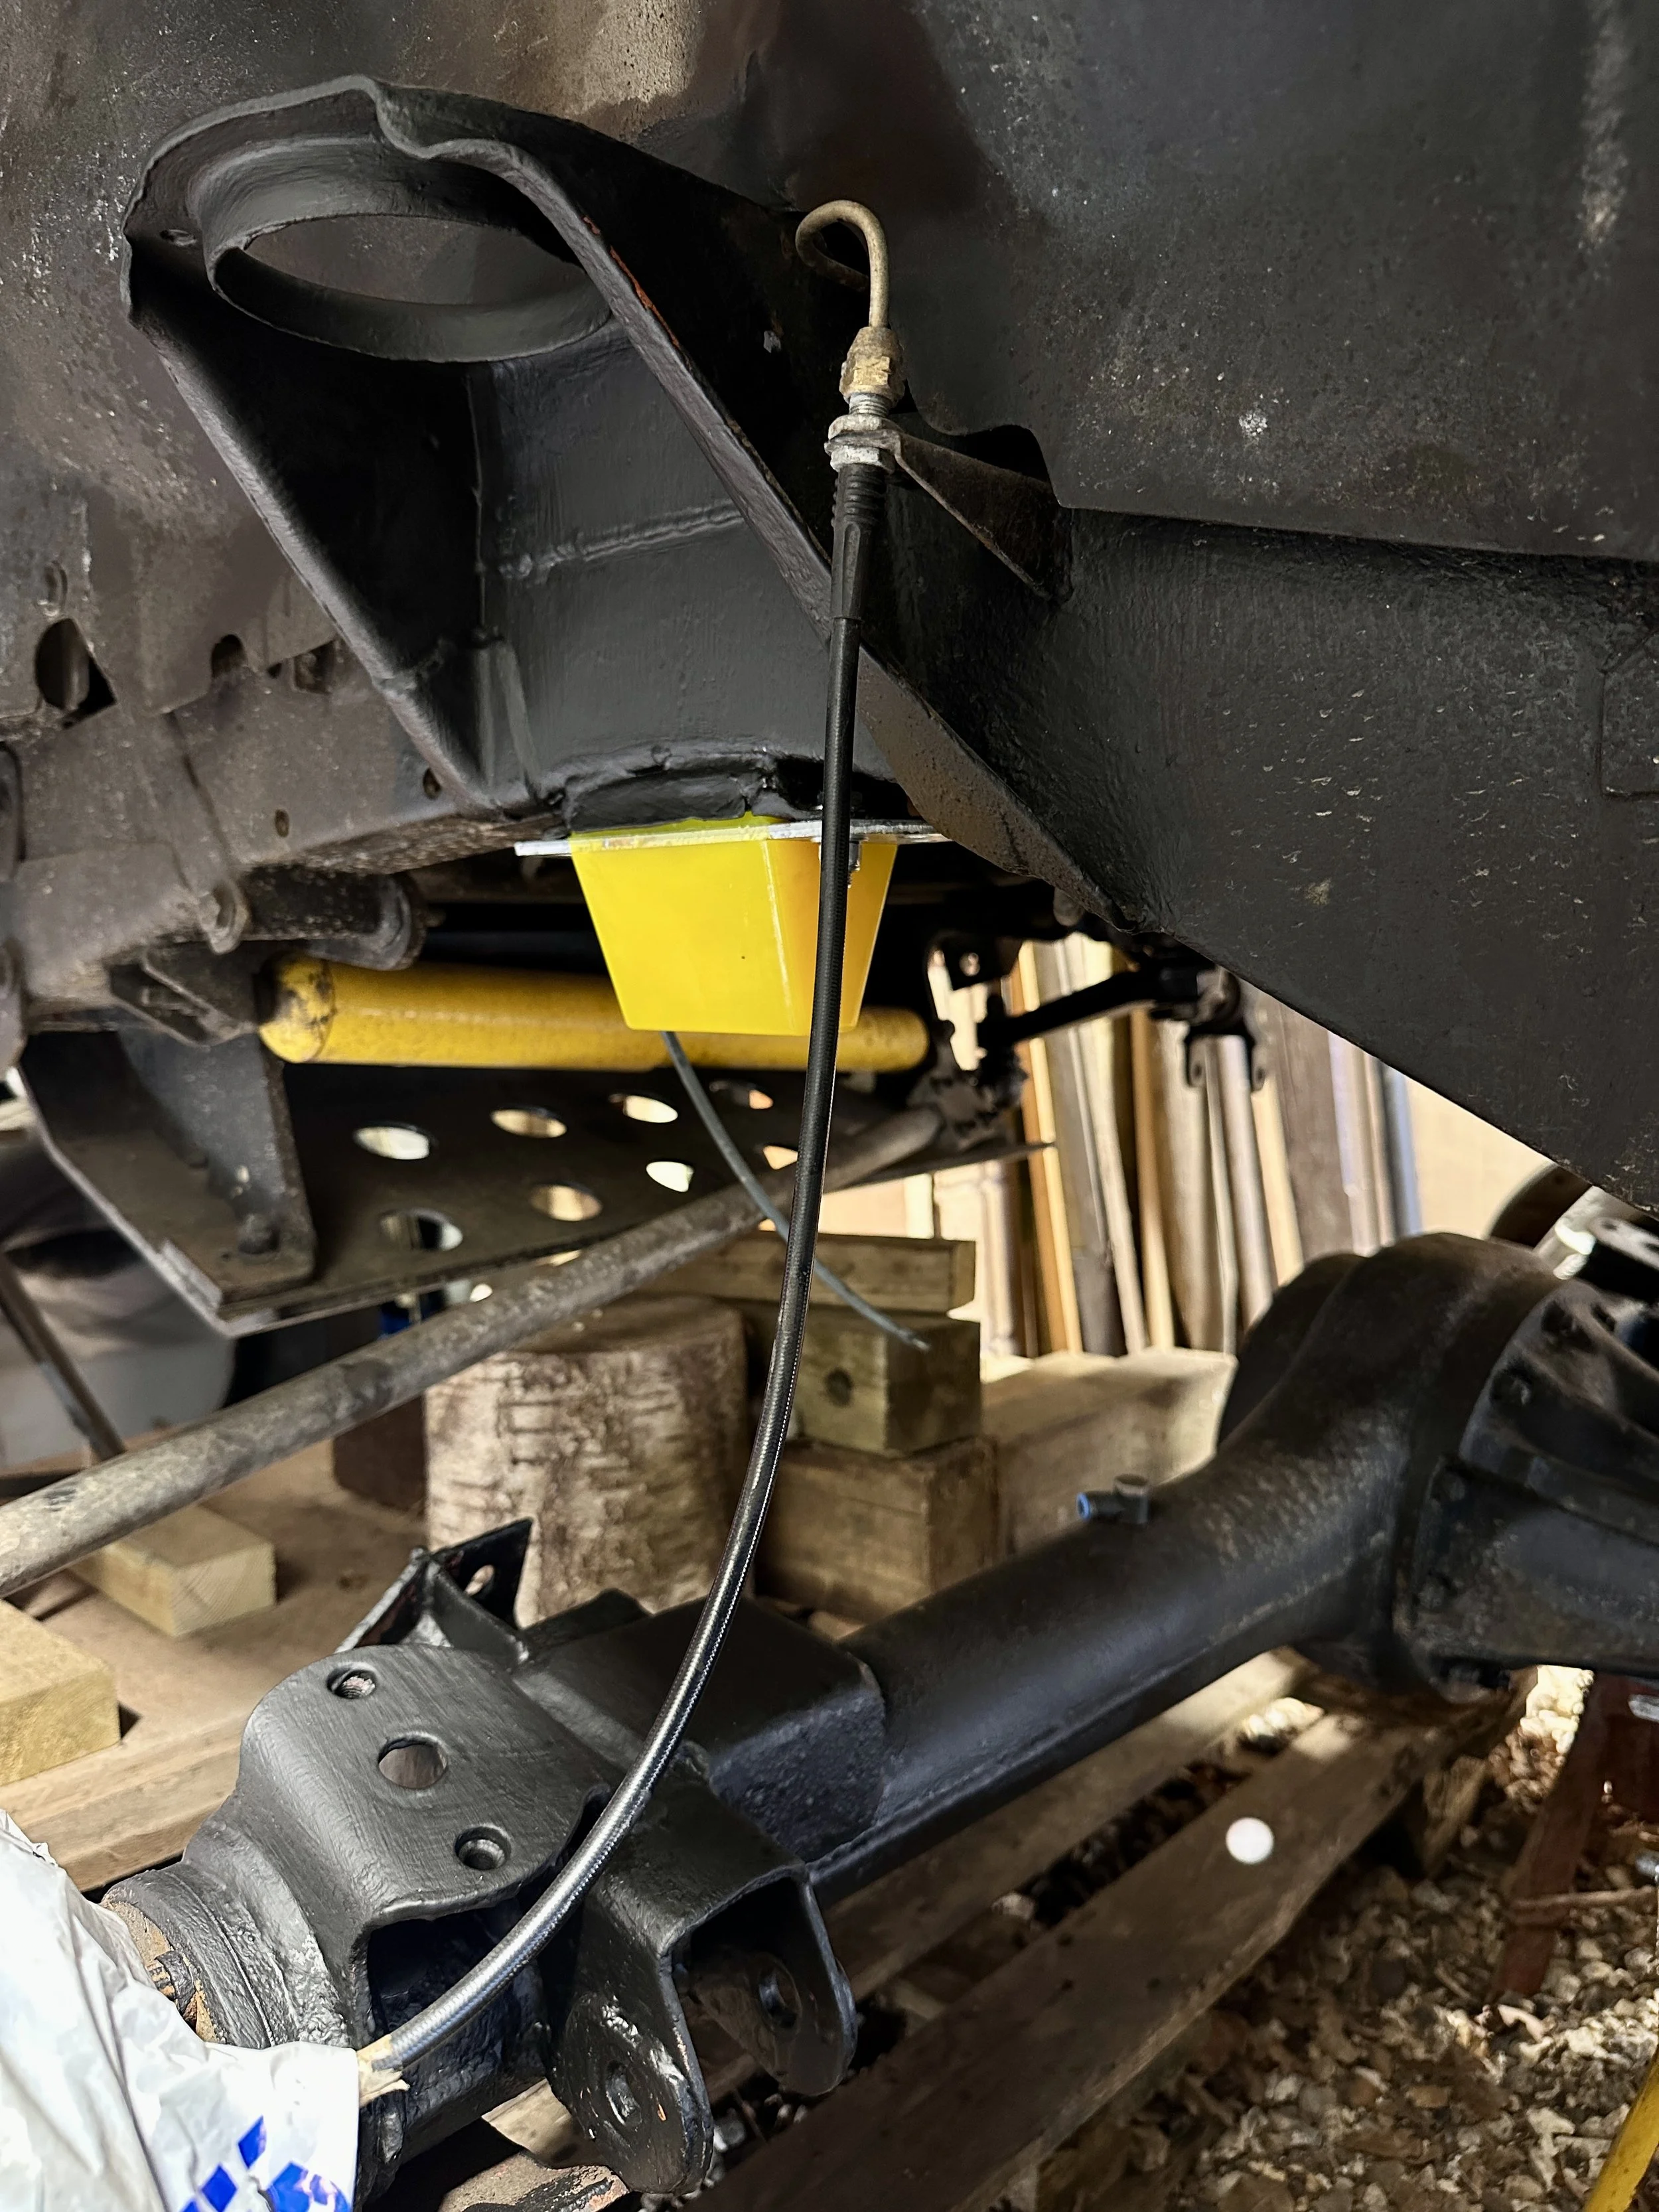
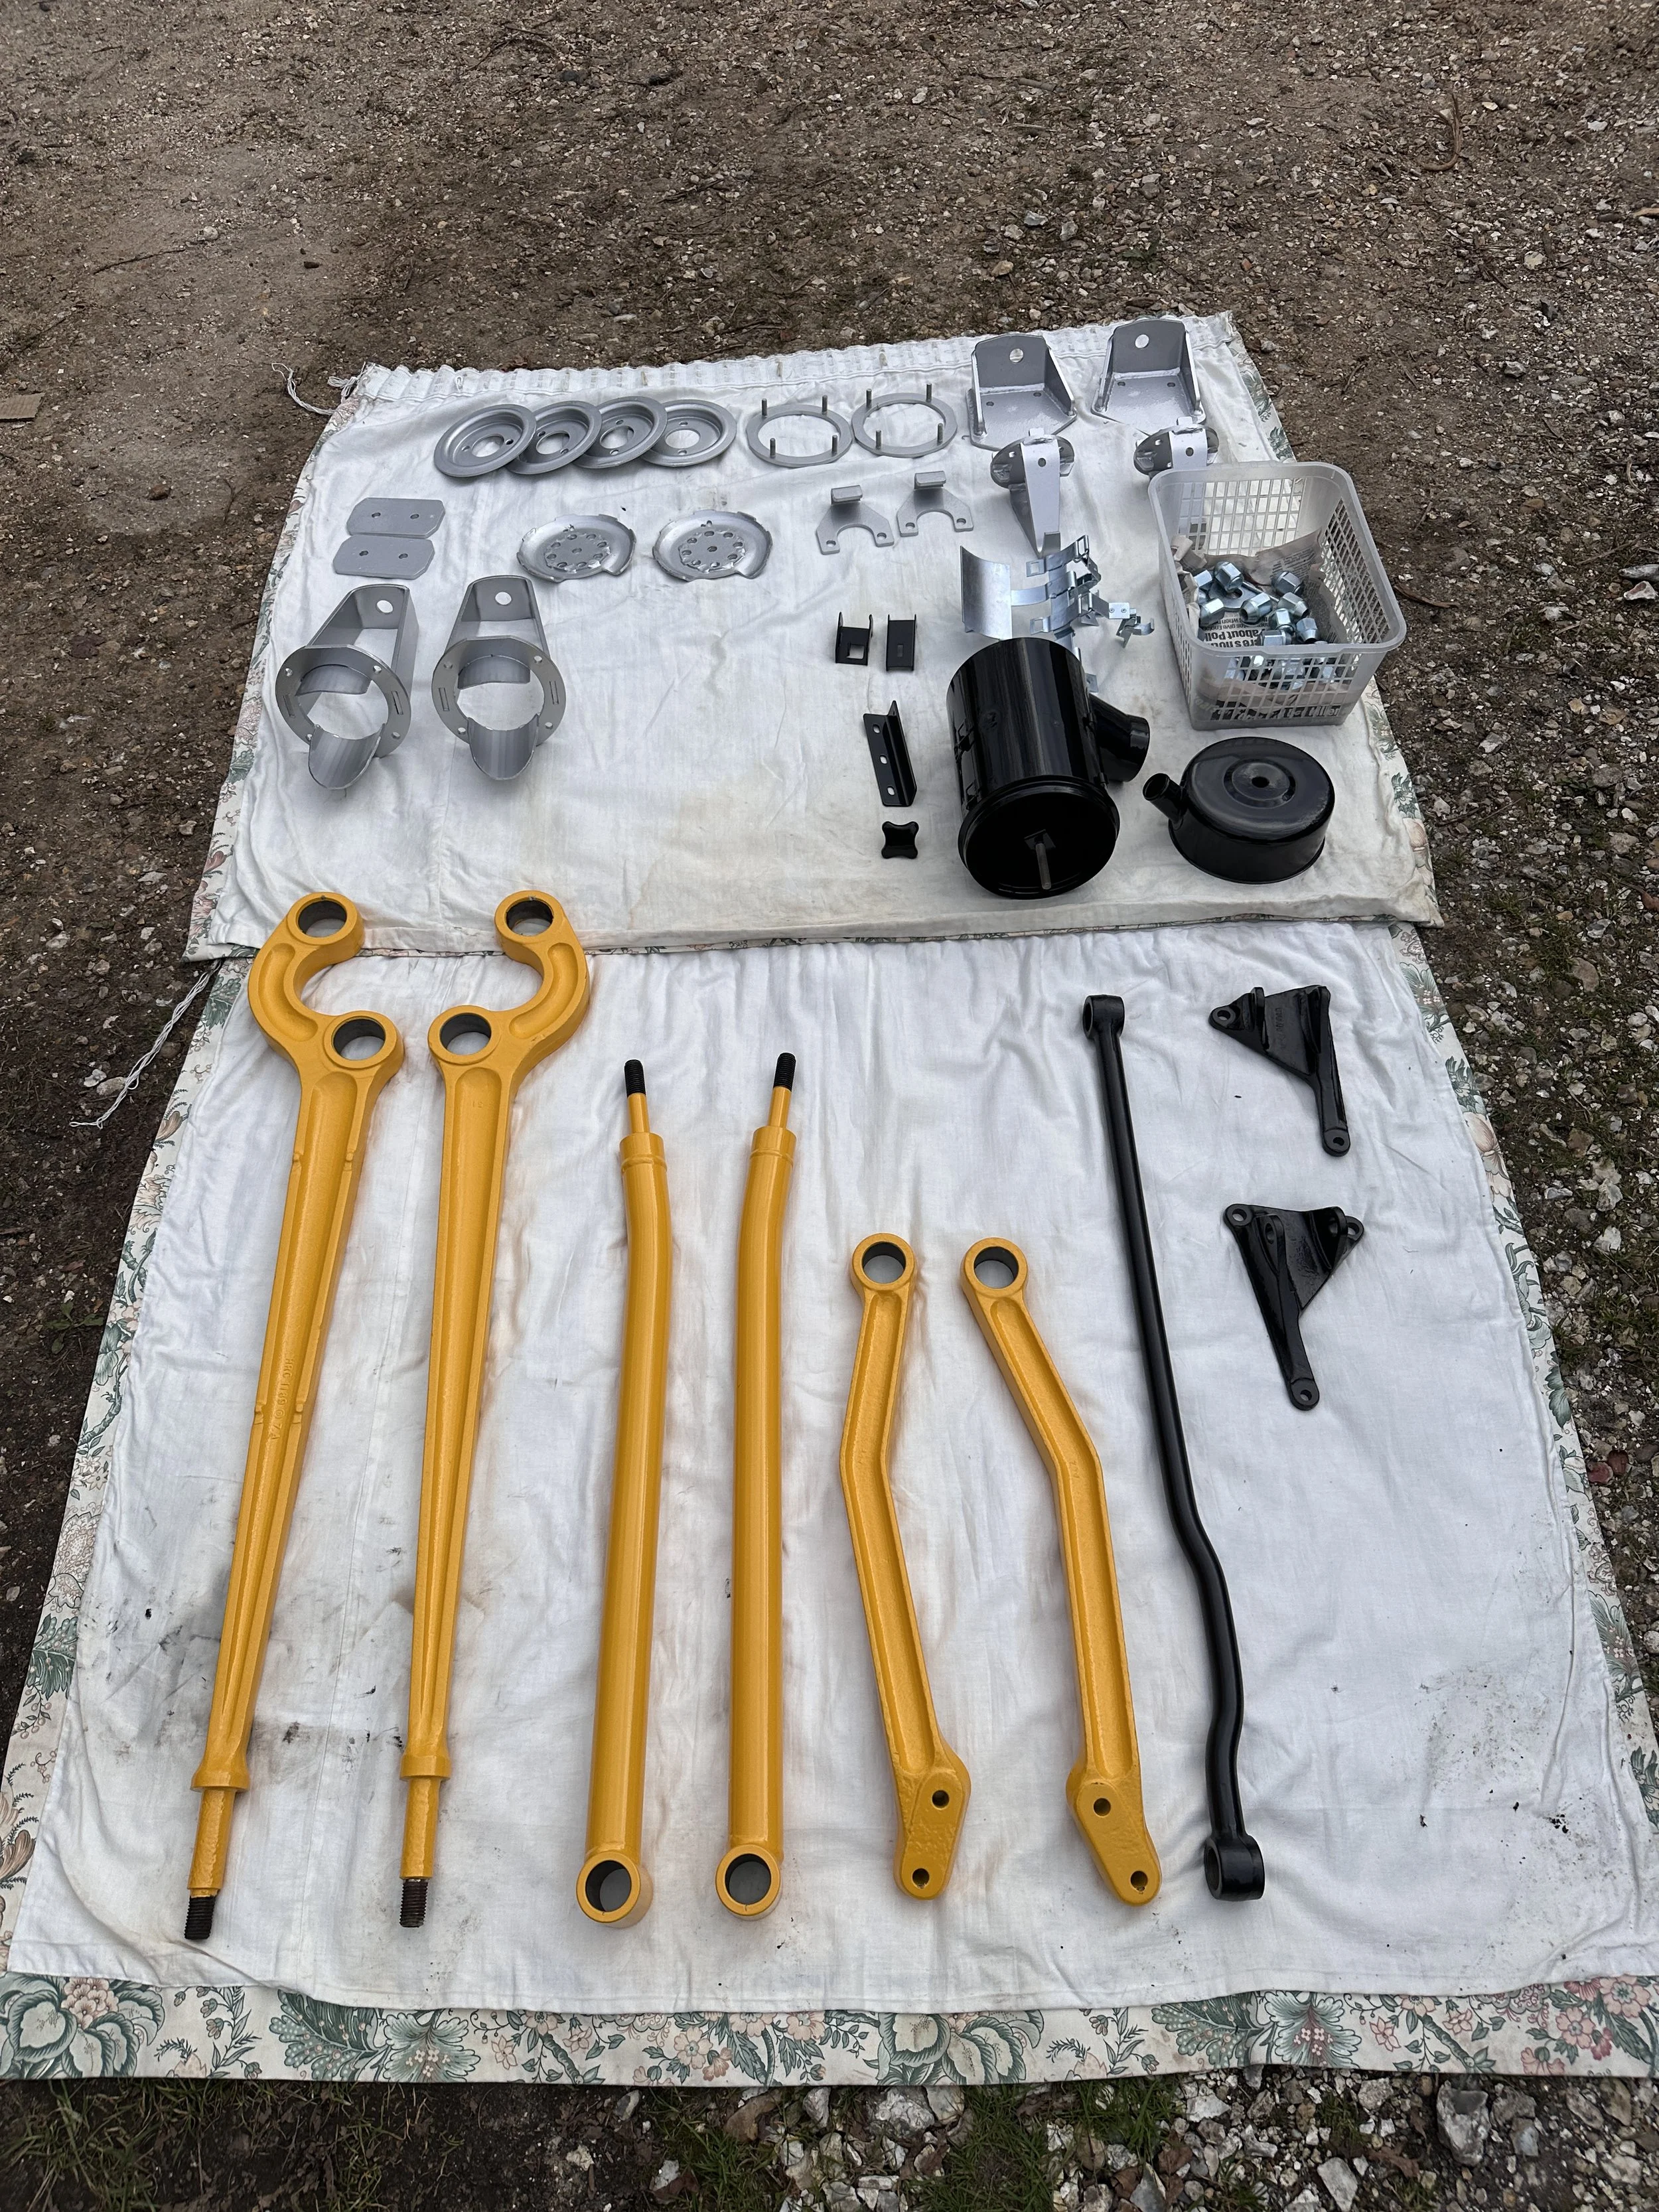
All hardware was included in the kit, spring mounts and retainers, new shock mounts and dislocation cones, and new bushes and bolts all round.
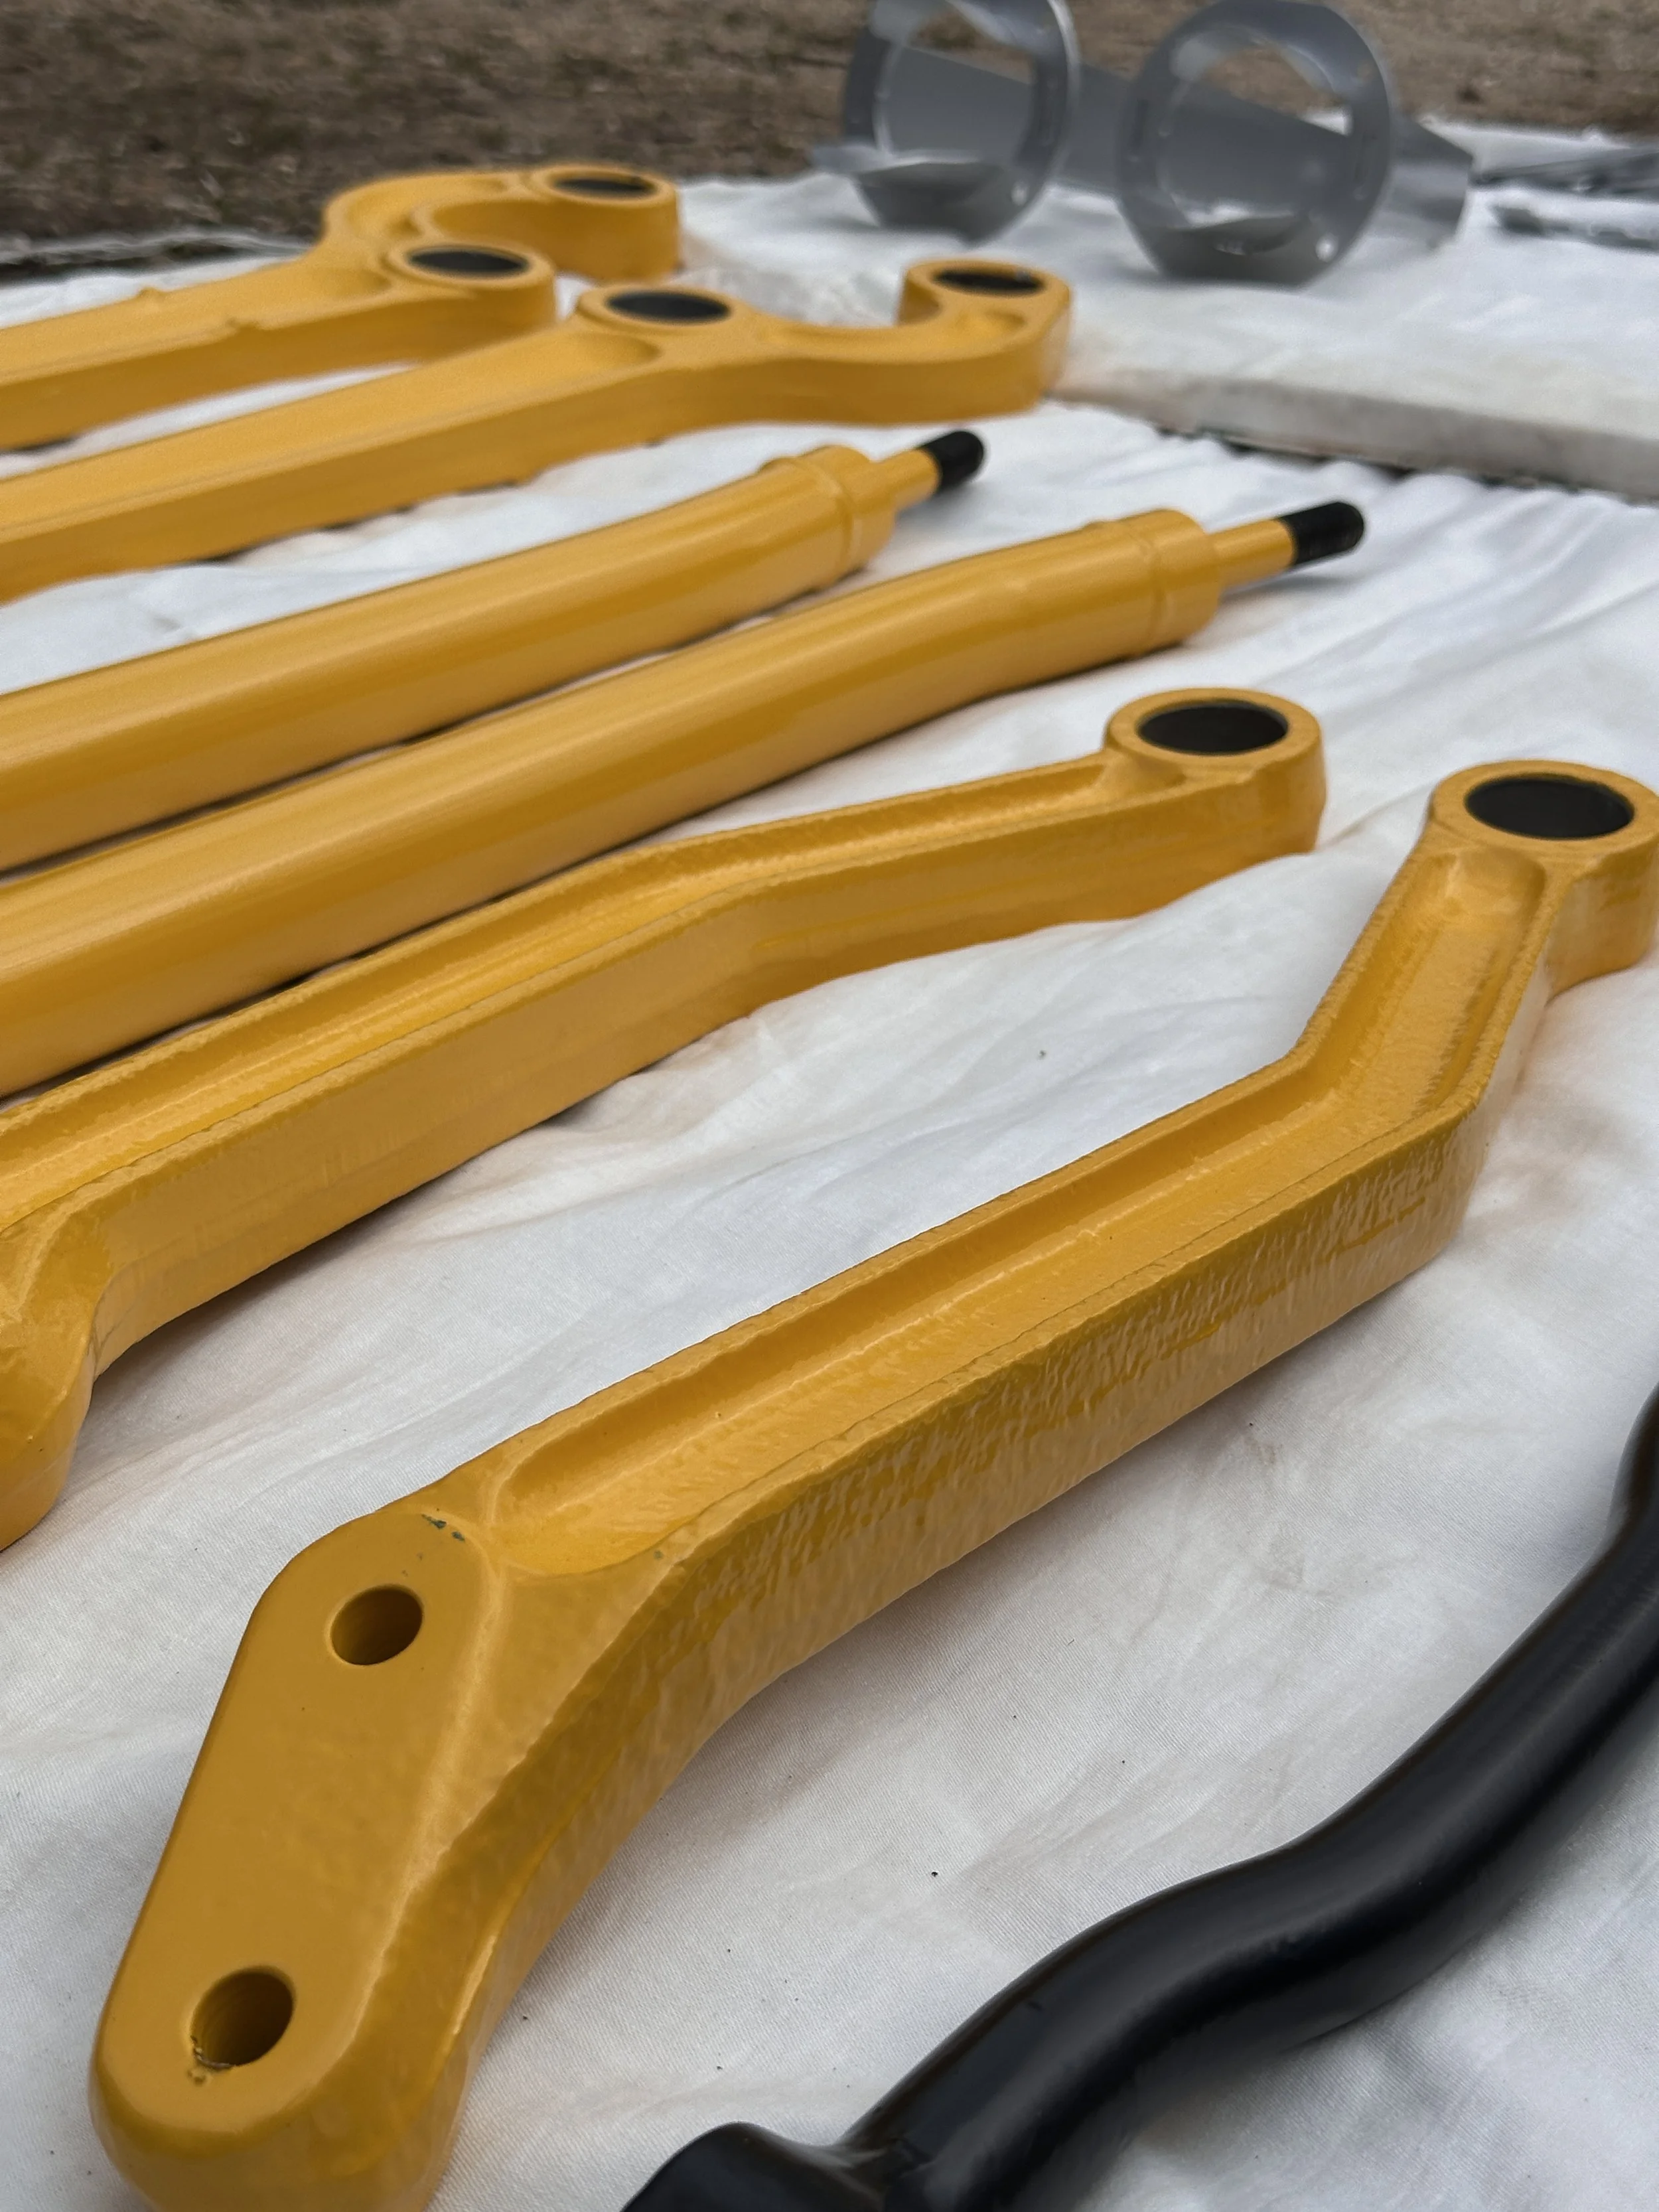
To replace the old bushes I had to remove all of the suspension arms, and while they were off I took the opportunity to get everything shot blasted and powder coated yellow to match the OME shocks. All of the galvanised hardware was powder coated gloss silver too.
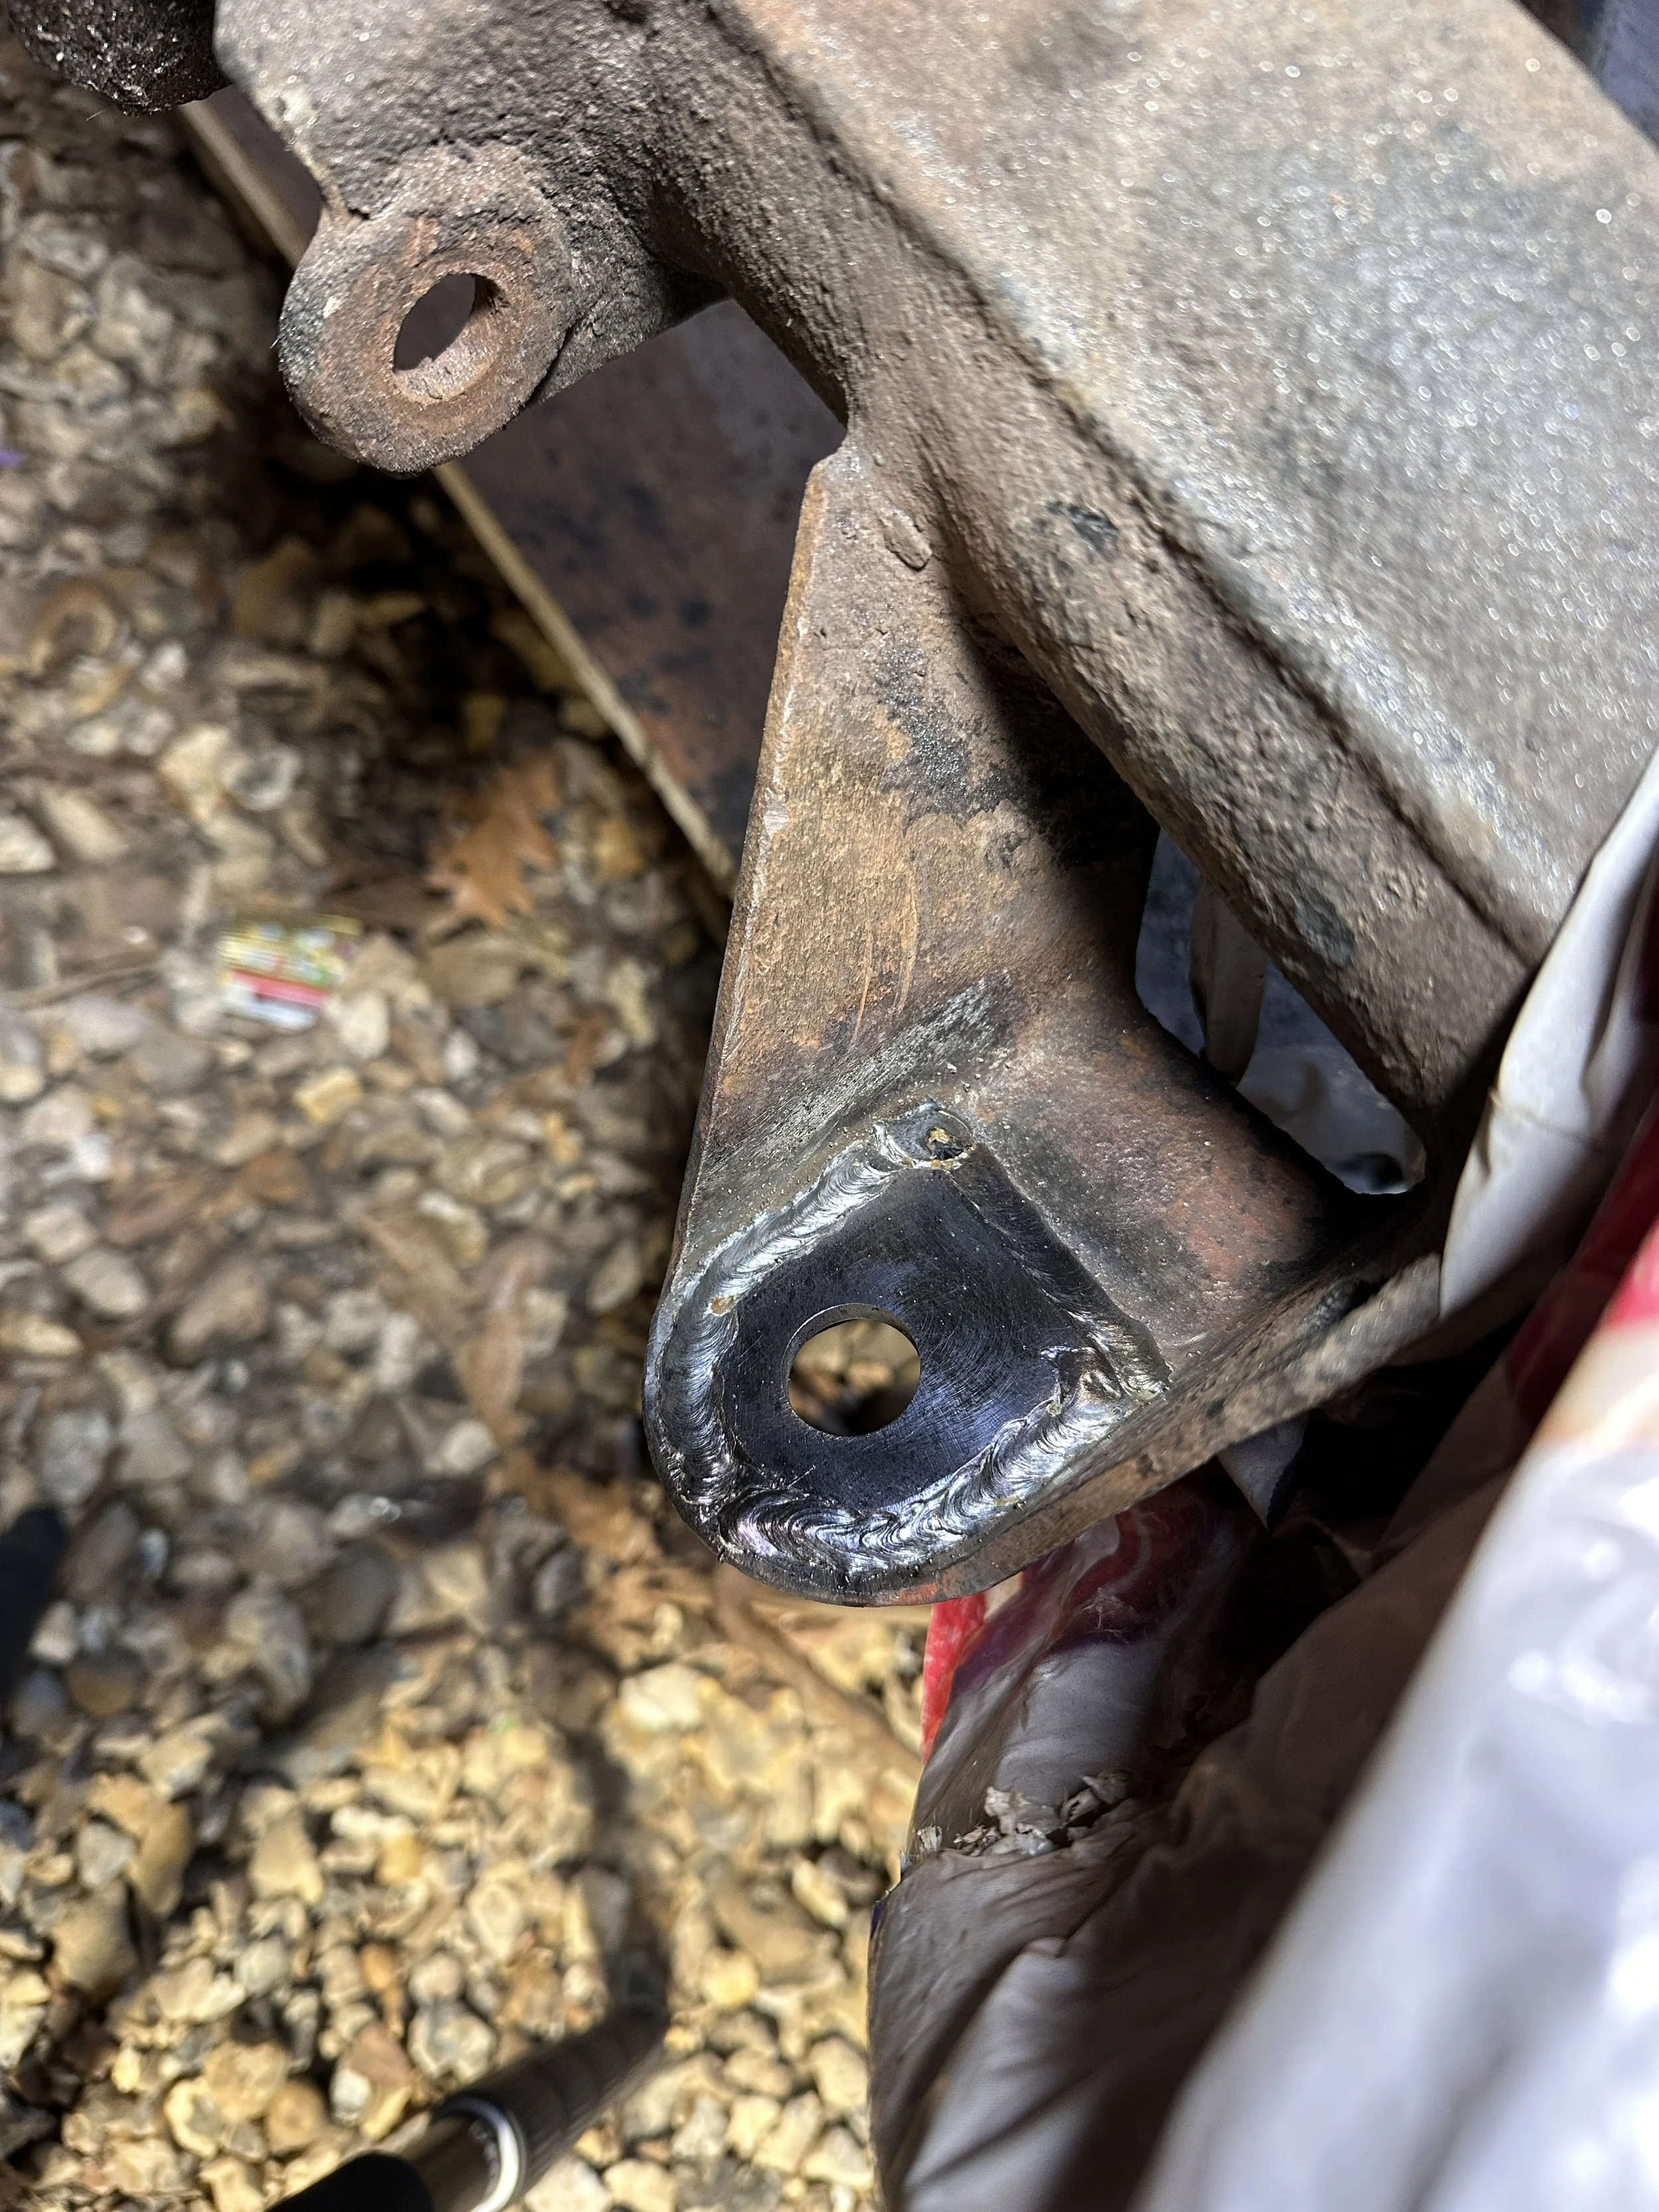
Fitting was fairly straightforward. Some welding was needed on the rear shock mounts before fitting, more on that in the welding section. I prepped all surfaces that become inaccessible once the suspension is fitted, rust proofing and protecting everything with Buzz Weld WAR.
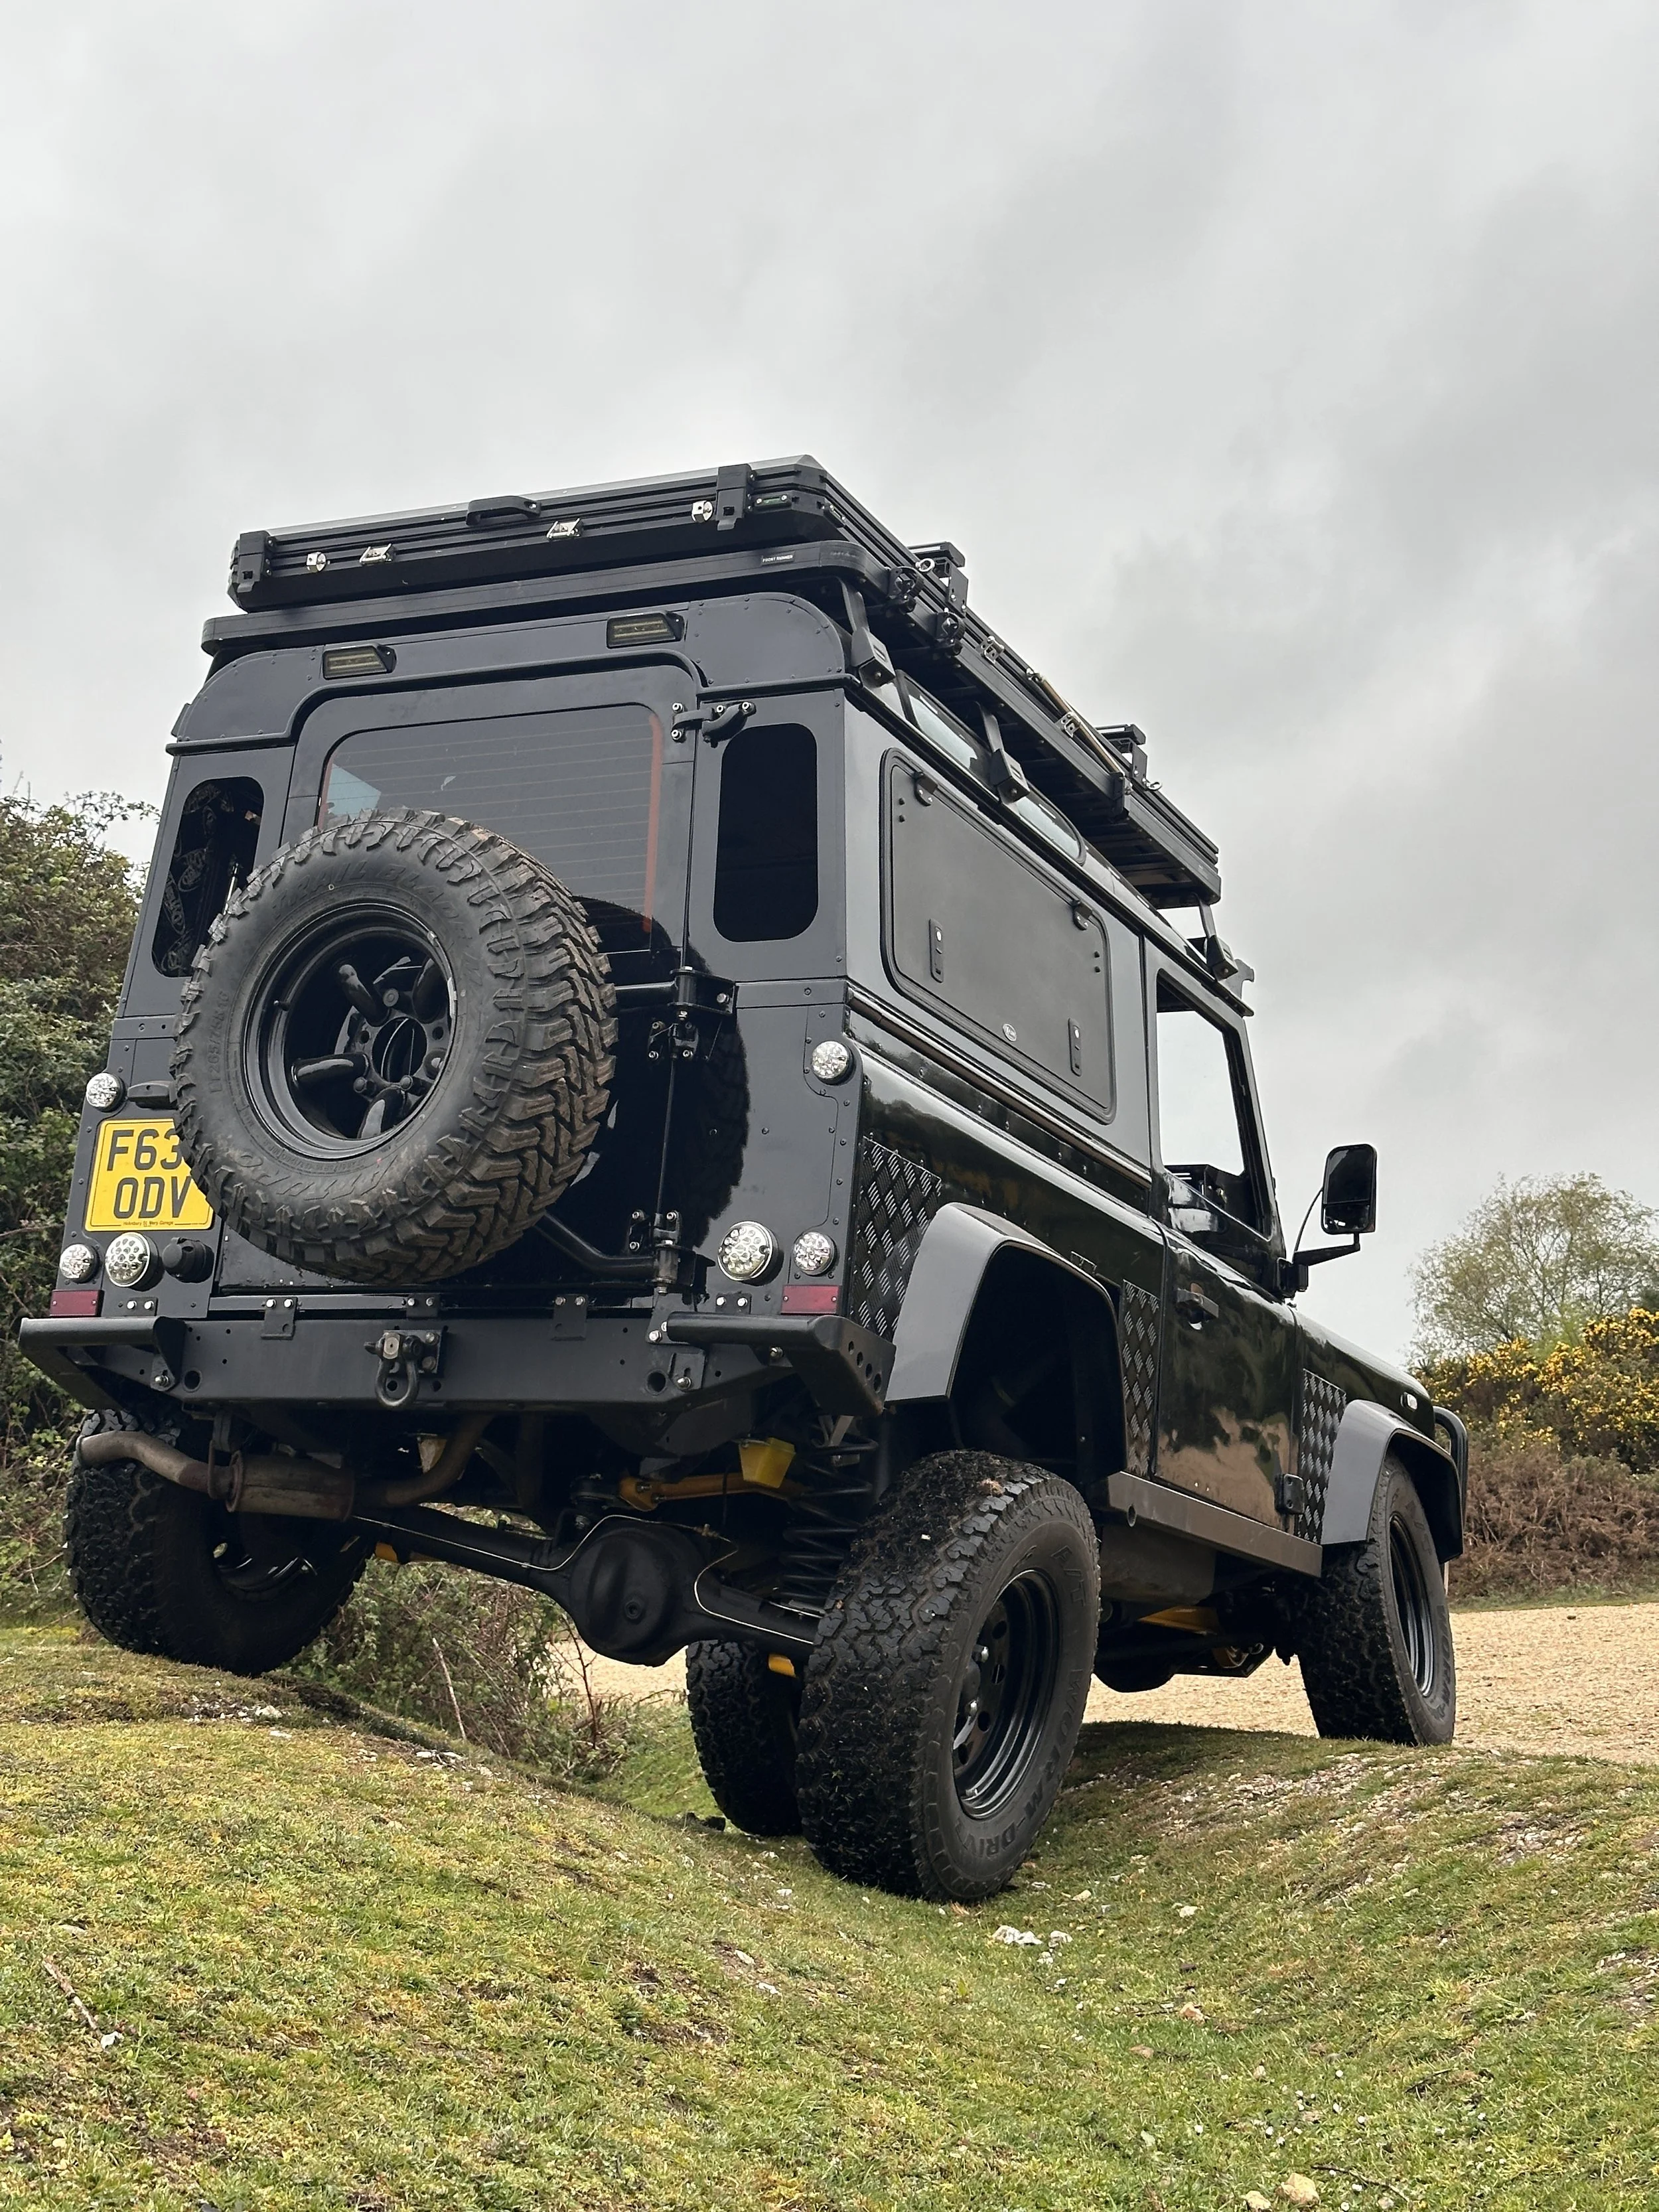
Really happy with how it's all come together. All that's left now is to load it up and simulate a full rig and confirm the springs are the correct rating.